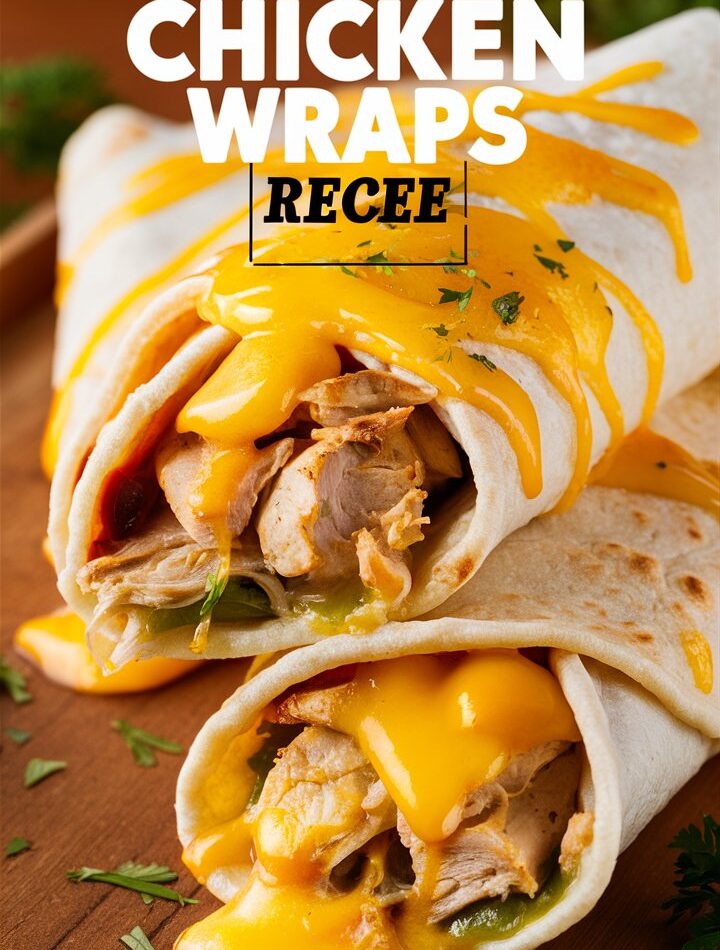
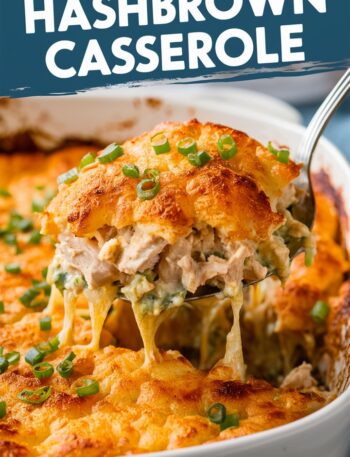
Craving something indulgent yet easy to prepare? Look no further than Cheesy Garlic Chicken Wraps—a warm, flavor-packed meal that strikes the perfect balance between comfort and convenience. Bursting with juicy seasoned chicken, melty cheese, and a creamy garlic sauce, these wraps are ideal for quick lunches, family dinners, or satisfying snacks.
In this in-depth recipe guide, you’ll learn everything from the tools you need and step-by-step preparation to expert tips, serving suggestions, and variations to make it your own. Whether you’re a beginner or a seasoned home cook, this recipe will become a staple in your kitchen.
1. What Makes Cheesy Garlic Chicken Wraps So Popular?
These wraps have everything you could want in a dish:
- Creamy garlic flavor that adds depth.
- Melted cheese that binds everything together with richness.
- Perfectly cooked chicken, seasoned to savory perfection.
- Crispy golden tortilla that holds it all in a satisfying bite.
Whether you’re hosting friends or meal prepping for the week, these wraps deliver flavor, texture, and satisfaction.
2. Ingredients Overview
For the Chicken:
- 2 large boneless chicken breasts, diced into bite-sized pieces
- 1 tbsp olive oil
- 1 tsp garlic powder
- 1 tsp onion powder
- 1 tsp smoked paprika
- Salt & pepper, to taste
For Assembly:
- 4 large flour tortillas
- 1 cup cheddar cheese, shredded
- ½ cup mozzarella cheese, shredded
- ½ cup creamy garlic sauce (homemade or store-bought)
For Garnish (Optional):
- 2 tbsp fresh parsley, finely chopped
- A sprinkle of chili flakes (for a spicy kick)
3. Kitchen Tools You’ll Need
- Non-stick skillet or grill pan – for browning the chicken and toasting the wraps.
- Mixing bowl – to season and toss the chicken.
- Spatula – for flipping and pressing wraps.
- Sharp knife & cutting board – for prepping ingredients.
- Grater – if you’re shredding cheese from a block.
4. Step-by-Step Recipe Instructions
Step 1: Season the Chicken
In a large bowl, mix the chicken with olive oil, garlic powder, onion powder, paprika, salt, and pepper. Ensure every piece is well coated.
Step 2: Cook the Chicken
Heat a non-stick skillet over medium heat. Add the chicken and cook for 6–8 minutes until browned and cooked through. Remove from heat and set aside.
Step 3: Prepare the Tortillas
Lay out the tortillas. Spread 1–2 tablespoons of garlic sauce across each one, leaving a small border around the edges.
Step 4: Add Fillings
Divide the chicken evenly between tortillas. Top with cheddar and mozzarella. Fold in the sides and roll up tightly into a wrap.
Step 5: Toast the Wraps
Place the wraps seam-side down into a hot skillet. Cook for 2–3 minutes per side, pressing gently with a spatula until crispy and golden brown.
Step 6: Slice and Serve
Cut diagonally, garnish with parsley or chili flakes, and serve warm.
5. Pro Tips for Perfect Wraps Every Time
- Use room-temperature tortillas to avoid cracking.
- Preheat your skillet for even browning.
- Don’t overfill the wraps—it makes them hard to seal and cook evenly.
- Press gently while toasting to help the cheese melt and the wrap hold together.
- Mix cheeses for the best texture and depth of flavor.
6. Serving Ideas and Sides
Pair your cheesy garlic chicken wraps with delicious sides to round out the meal:
| Side Dish | Why It Works |
|---|---|
| Coleslaw | Adds crunch and freshness. |
| Garlic roasted potatoes | Echoes the flavor and makes it heartier. |
| Fresh salad | Keeps the meal light and balanced. |
| Tomato salsa or pico de gallo | Adds a tangy contrast. |
| Chips and guacamole | Great for casual lunches or parties. |
7. Flavor Variations and Customizations
🧀 Cheese Options:
- Pepper Jack for heat
- Gouda for a smoky flavor
- Feta for tang
🌿 Herbs & Seasonings:
- Add Italian seasoning for a Mediterranean twist
- Try cumin and chili powder for a Tex-Mex feel
🥗 Add Veggies:
- Sautéed bell peppers
- Caramelized onions
- Fresh spinach or arugula
🍗 Protein Substitutes:
- Shredded rotisserie chicken for ease
- Turkey breast for a leaner choice
- Grilled tofu for a vegetarian version
8. Common Mistakes to Avoid
- Overcooking the chicken – leads to dry, rubbery texture.
- Skipping the garlic sauce – it binds and flavors the wrap.
- Using cold cheese – bring it to room temp for better melting.
- Not sealing wraps properly – fold tightly and toast seam-side down.
- Not pressing while cooking – this ensures even browning and crispy texture.
9. Storage and Reheating Guide
🧊 Refrigeration:
- Store leftover wraps in an airtight container for up to 3 days.
❄️ Freezing:
- Wrap individually in foil or freezer wrap.
- Store in a freezer bag for up to 2 months.
🔥 Reheating:
- Oven: 350°F (175°C) for 10–15 mins.
- Microwave: Medium heat, 60–90 seconds.
- Stovetop: Skillet on low-medium heat, 3 mins per side.
10. Nutritional Breakdown (Approx. per wrap)
| Nutrient | Amount |
|---|---|
| Calories | 450–500 |
| Protein | 28g |
| Carbohydrates | 32g |
| Total Fat | 22g |
| Saturated Fat | 10g |
| Sodium | 600mg |
Values may vary depending on ingredients used.
11. FAQs About Cheesy Garlic Chicken Wraps
Can I make them ahead of time?
Yes! Prep all components and assemble right before toasting for best results.
Can I make this gluten-free?
Absolutely. Use gluten-free tortillas and ensure spices and sauces are GF-friendly.
What’s a good dairy-free option?
Swap cheeses with vegan cheese and use a dairy-free garlic sauce.
Can I make these wraps spicy?
Add hot sauce, chili flakes, or spicy cheese like Pepper Jack.
Do they work for meal prep?
Yes! They’re ideal for prepping several ahead for grab-and-go lunches.
12. Final Thoughts
Cheesy Garlic Chicken Wraps are more than just a recipe—they’re a go-to comfort food that fits every lifestyle. They can be customized to suit your taste, dietary needs, and time constraints, making them a practical and flavorful addition to your weekly meal plan.
With a crispy exterior, gooey interior, and garlicky goodness in every bite, these wraps are guaranteed to impress. Whether you’re cooking for your family, prepping meals ahead, or just treating yourself, this recipe delivers delicious results every time.
