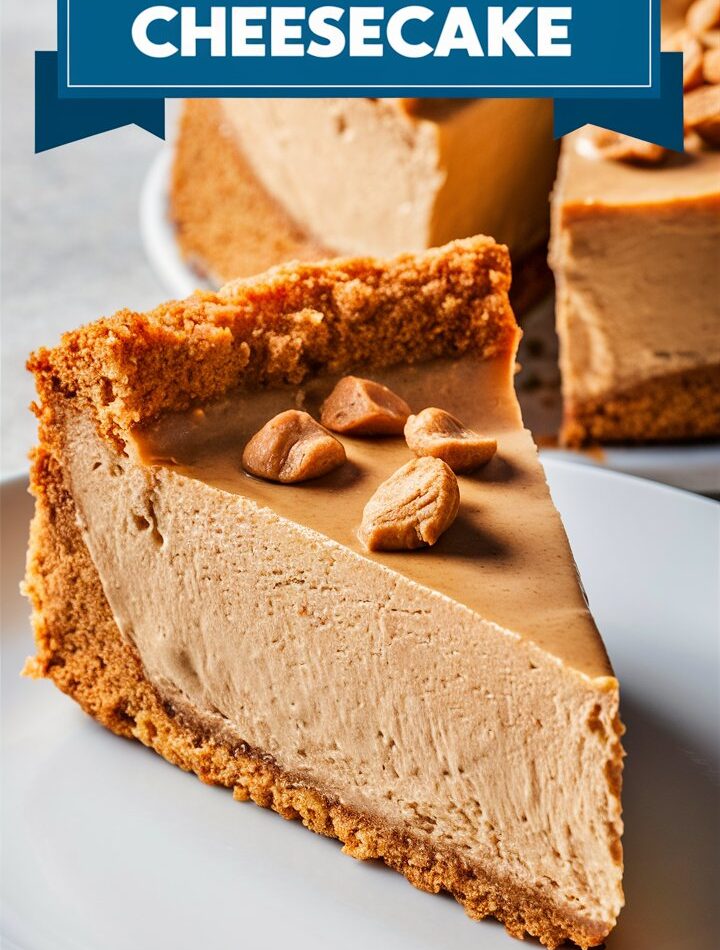
Old Fashioned Peanut Butter Pie is a timeless, creamy dessert beloved by many. Its luscious peanut butter filling combined with a crunchy graham cracker crust makes it a crowd-pleaser at family gatherings, holidays, or anytime you crave something sweet and satisfying. The best part? It’s a no-bake recipe that’s quick and easy, yet delivers on flavor and nostalgia.
In this article, you will find everything you need to master this classic dessert—from ingredients and step-by-step instructions, to expert tips, variations, serving suggestions, and storage advice. Whether you’re a beginner or an experienced baker, this guide will ensure your peanut butter pie turns out perfectly every time.
1. What is Old Fashioned Peanut Butter Pie?
Old Fashioned Peanut Butter Pie is a classic American dessert characterized by a rich, smooth, and creamy peanut butter filling set inside a crunchy graham cracker crust. Unlike many pies that require baking, this pie is a no-bake delight, meaning you prepare the filling and chill it to set.
Its flavor balances sweet and salty, with the comforting aroma and taste of peanut butter enhanced by the slight tang of cream cheese or whipped topping. This pie evokes memories of childhood, backyard barbecues, and holiday dinners, making it a sentimental favorite.
2. Ingredients You’ll Need
Choosing the right ingredients is essential to achieving the perfect texture and taste.
For the Filling:
- Cream Cheese: 8 ounces, softened to room temperature for smooth mixing.
- Creamy Peanut Butter: 3/4 cup, choose a brand without added oils or excessive salt. Avoid natural varieties that separate easily.
- Powdered Sugar: 1 cup, to sweeten and smooth the filling.
- Milk: 1/2 cup, room temperature, to loosen the mixture.
- Whipped Topping: 8 ounces (one container), thawed (or homemade whipped cream, whipped to stiff peaks).
For the Crust:
- Graham Cracker Crust: A 9-inch pre-made crust or homemade graham cracker crust made from crushed crackers, sugar, and melted butter.
Optional Garnishes:
- Chopped peanuts for crunch
- Chocolate drizzle or chocolate chips
- Fresh berries for color and freshness
3. Essential Tools for Success
Having the right kitchen tools helps make the process smooth and stress-free.
- Hand Mixer or Stand Mixer: To whip the cream cheese and peanut butter until fluffy.
- Mixing Bowls: A large bowl for mixing the filling.
- Rubber Spatula: For folding in whipped topping gently without deflating.
- Measuring Cups and Spoons: Accuracy is important.
- Pie Dish: Preferably a freezer-safe 9-inch dish if making the pie from scratch.
- Plastic Wrap or Pie Cover: To protect the pie while chilling.
4. Step-by-Step Recipe Instructions
Follow these detailed steps for a flawless Old Fashioned Peanut Butter Pie.
Step 1: Soften the Cream Cheese
Leave cream cheese out at room temperature for about 30 minutes. This ensures it blends easily without lumps.
Step 2: Beat Cream Cheese
Using a hand or stand mixer, beat the softened cream cheese on medium-high speed until it is light and fluffy.
Step 3: Add Peanut Butter
Add the creamy peanut butter to the bowl and beat until completely combined and smooth.
Step 4: Incorporate Powdered Sugar and Milk
Gradually add the powdered sugar and milk, mixing well after each addition. The milk loosens the mixture, making it creamy but still firm enough to hold shape.
Step 5: Fold in Whipped Topping
Using a spatula, gently fold the whipped topping into the peanut butter mixture. Take care not to overmix, as you want to keep the airy texture.
Step 6: Assemble the Pie
Pour the filling into the graham cracker crust. Spread evenly with the spatula.
Step 7: Chill
Cover the pie with plastic wrap and refrigerate for at least 4 hours or overnight to set properly.
Step 8: Garnish and Serve
Before serving, sprinkle chopped peanuts on top or drizzle with melted chocolate for extra indulgence.
5. Tips for the Perfect Peanut Butter Pie
- Room Temperature Ingredients: Always start with room temperature cream cheese and milk to prevent lumps.
- Choose the Right Peanut Butter: Creamy, stable peanut butter provides the best texture. Avoid runny or oil-separated natural peanut butters unless you stir them thoroughly.
- Fold, Don’t Mix: When incorporating whipped topping, fold gently to preserve fluffiness.
- Chilling is Key: Don’t rush the chilling process. The pie needs time to set for clean slices.
- Homemade Crust Option: For a richer crust, make your own by mixing graham cracker crumbs with melted butter and a little sugar, then pressing into your pie pan.
6. Variations and Flavor Twists
Make this classic your own by trying these variations:
- Chocolate Peanut Butter Pie: Add melted chocolate or cocoa powder into the filling, or swirl in chocolate ganache.
- Crunchy Peanut Butter Pie: Use crunchy peanut butter or fold in chopped peanuts.
- Oreo Crust: Swap the graham crust for a chocolate Oreo crust for a chocolate-peanut butter combo.
- Vegan Version: Use dairy-free cream cheese and coconut whipped cream with natural peanut butter.
- Salted Caramel Drizzle: Top with a drizzle of salted caramel for a sophisticated flavor boost.
- Peanut Butter and Banana: Add sliced bananas on top or within the filling for a fruity touch.
7. Serving Ideas and Pairings
Peanut butter pie can be served simply or dressed up:
- Serve with a scoop of vanilla or chocolate ice cream.
- Fresh berries like raspberries or strawberries cut through the richness.
- A drizzle of warm chocolate or caramel sauce adds decadence.
- Pair with hot coffee or strong black tea to balance sweetness.
- Offer alongside light desserts like fruit salad or sorbet for contrast.
8. Common Mistakes and How to Avoid Them
- Using Cold Cream Cheese: Causes lumps. Soften it well.
- Overmixing Whipped Topping: Deflates the airiness, making the pie dense.
- Skipping Chilling Time: Pie won’t set properly, making slicing messy.
- Using the Wrong Peanut Butter: Natural types can separate and cause watery filling.
- Not Spreading Evenly: Leads to uneven slices and an unprofessional look.
9. Storage and Shelf Life
- Refrigerate: Store the pie covered tightly in the fridge for up to 5 days.
- Freeze: For longer storage, wrap the pie in plastic wrap and freeze for up to 3 months. Thaw overnight in the fridge before serving.
- Do Not Heat: This pie is best served cold; reheating changes the texture and flavor negatively.
10. Frequently Asked Questions
Can I use crunchy peanut butter?
Yes! It adds texture but may change the smoothness slightly.
Can I make the pie without whipped topping?
You can substitute with homemade whipped cream or stabilized whipped cream.
How long does it take to set?
At least 4 hours in the fridge or overnight for best results.
Can I prepare this pie in advance?
Yes, it can be made up to 2 days ahead and stored in the fridge.
11. Final Thoughts
Old Fashioned Peanut Butter Pie is a classic no-bake dessert that’s easy to make yet impressively delicious. Its creamy peanut butter filling, combined with a crunchy crust and optional toppings, make it an all-time favorite for dessert lovers. By following this detailed guide, you’ll create a pie that’s perfectly smooth, rich, and set to impress any guest or family member.


